
Brembo Front Caliper Installation Guide
This guide illustrates installing Brembo STI calipers onto a 2015 Subaru WRX.
Step 1: Raise the car and SAFELY support the vehicle.
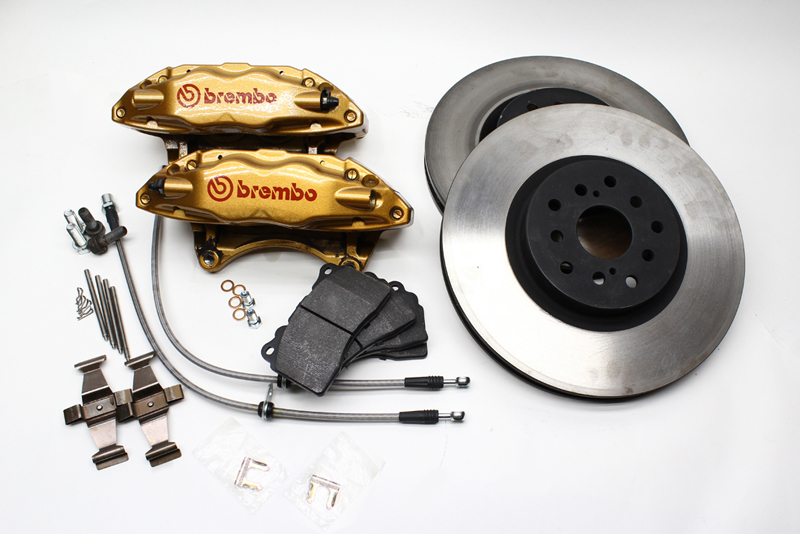
General Parts List:
-
Calipers with needed hardware - Pair
-
Rotors - Pair
-
Brake lines with clips
-
Banjo bolts (2) and Crush Washers (4)
-
Caliper mounting bolts (4)
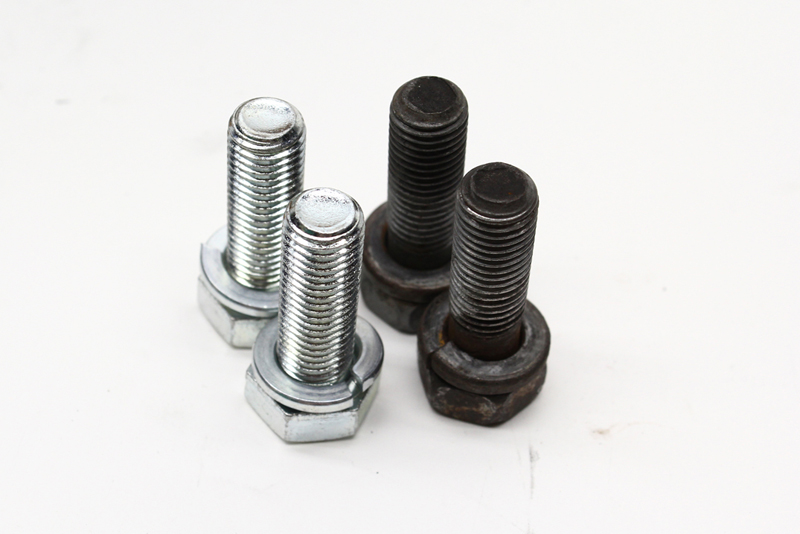
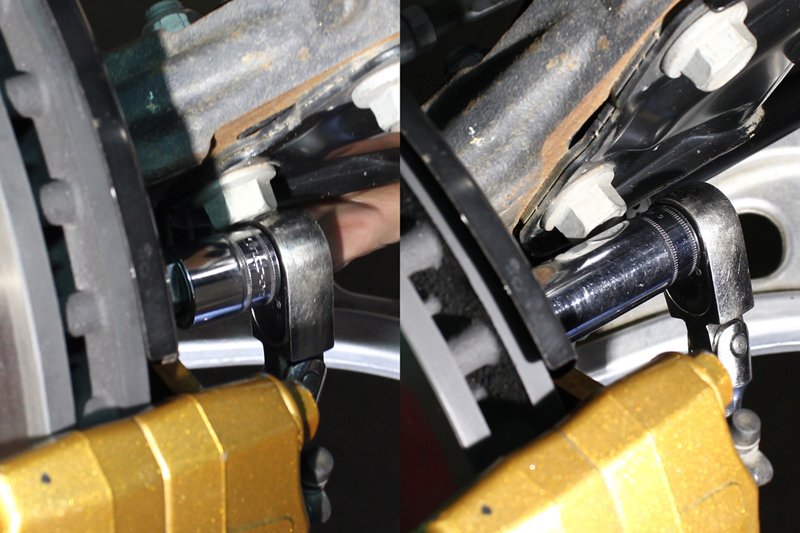
Step 2: Inspect/clean the caliper bolts. Dirty/rusty threads can seize and strip the caliper threads.
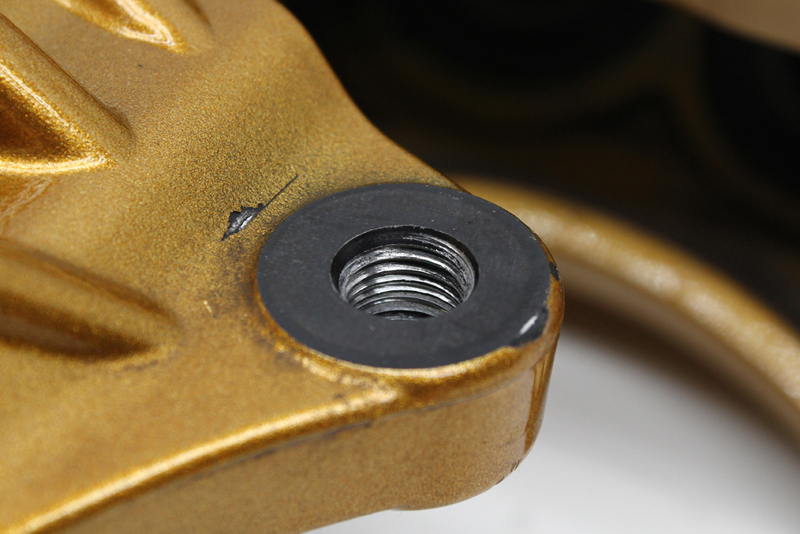
Step 3: Inspect the threads on the caliper and chase them to be sure.
Step 4: Test the bolts. They should thread in easily. OEM bolts in right caliper. Our proper grade replacements are in the left caliper.
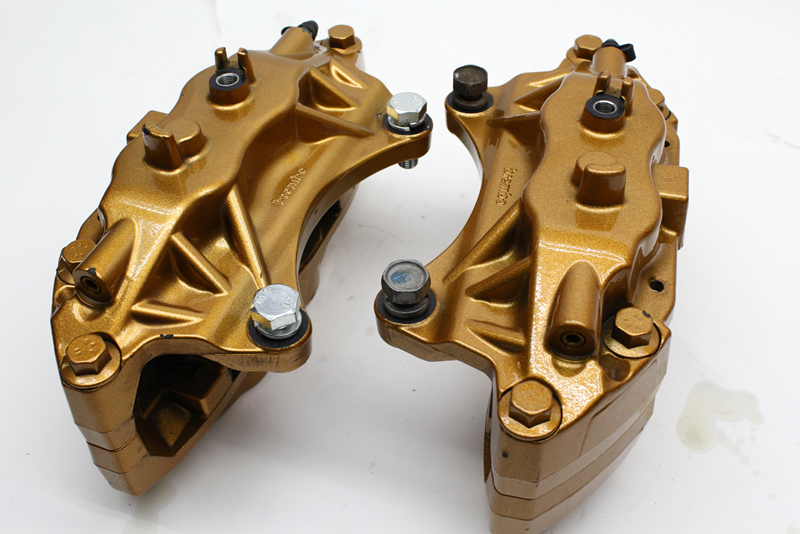
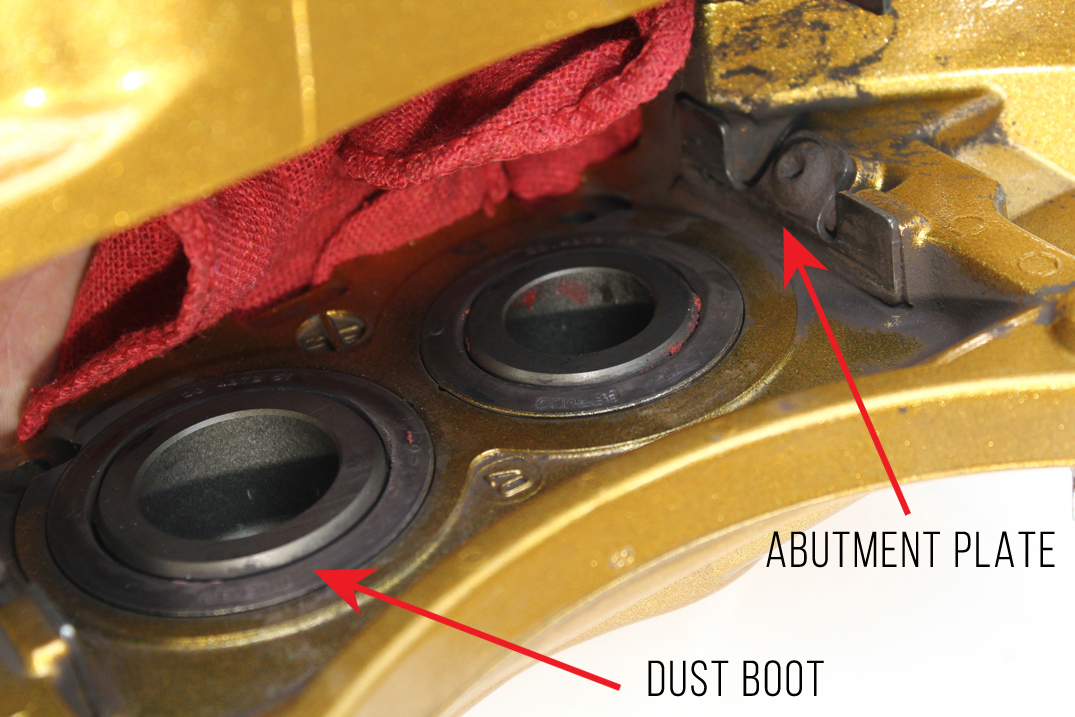
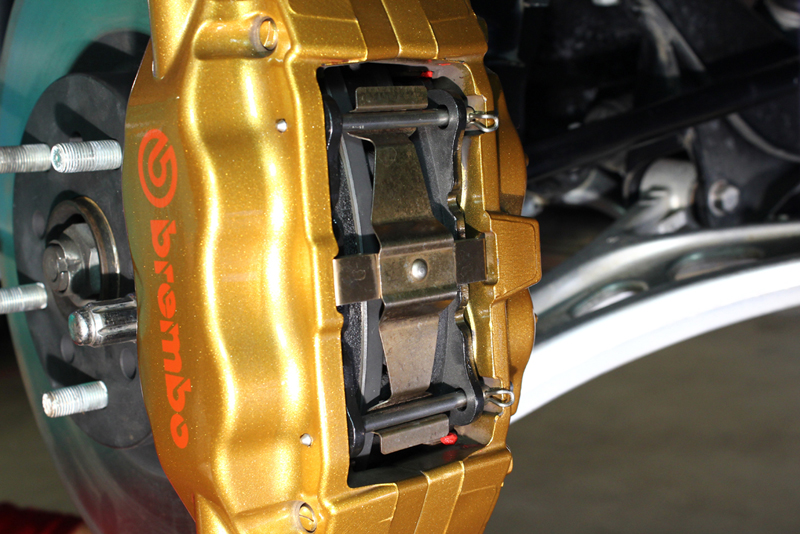
Step 5: Inspect the piston dust boots and the abutment plates. These calipers were in good shape and you can see they are fine. Residual red grease indicates that HAWK brake pads had previously been installed.
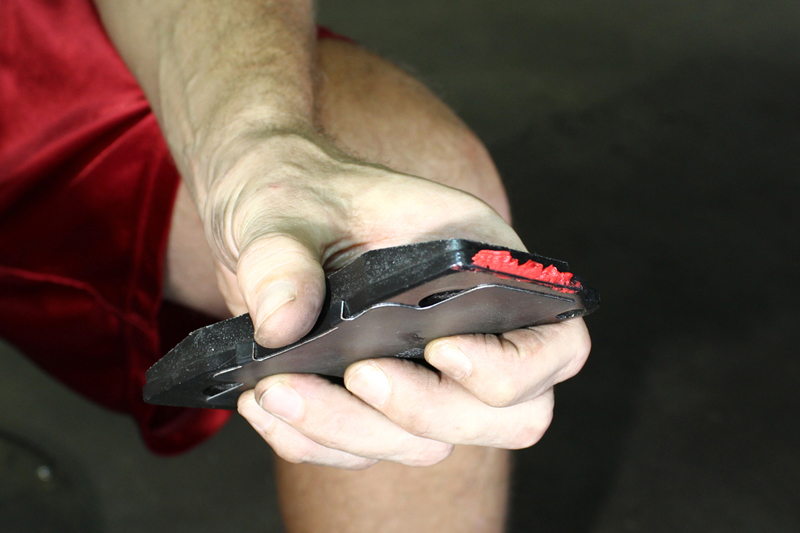
Step 6: Brake pad note. Look at the difference in the shape of the backing plate. One of them is cut and one of them is stamped.
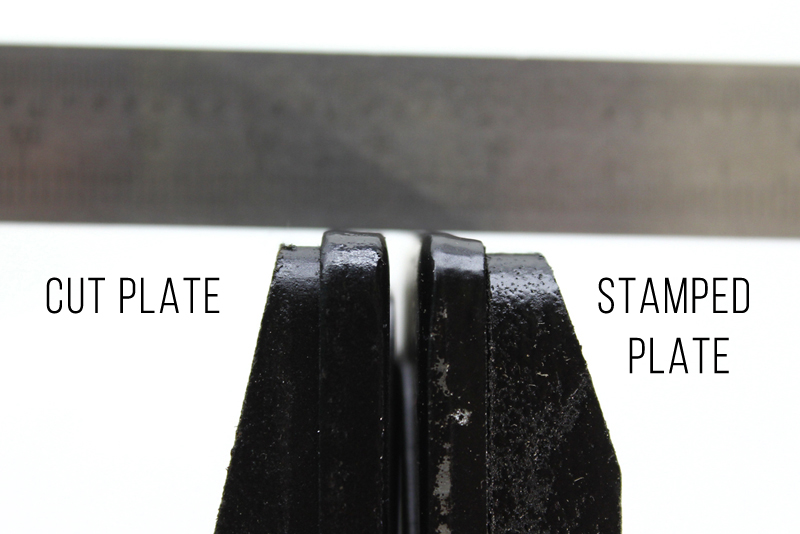
Step 7: Stamping tools wear over time. There has to be some clearance in the caliper for the pad but too much may allow some clicking from the brakes as you change from reverse to forward.
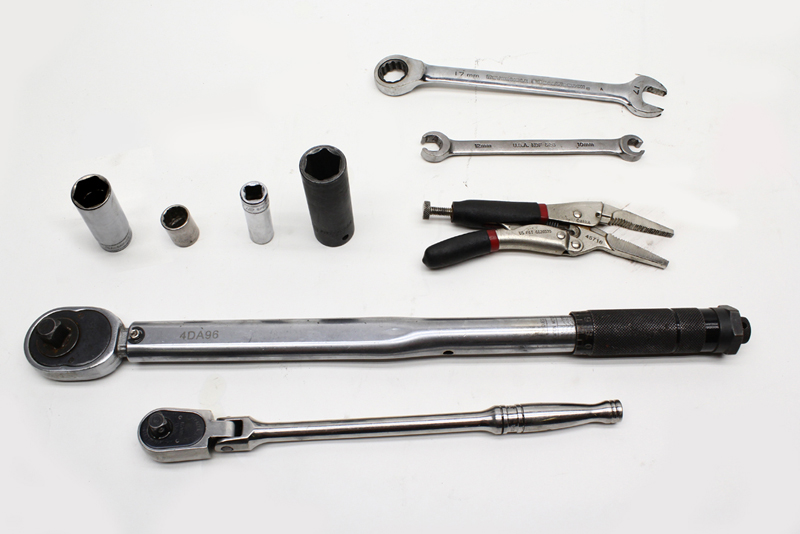
Step 8: Tools we used.
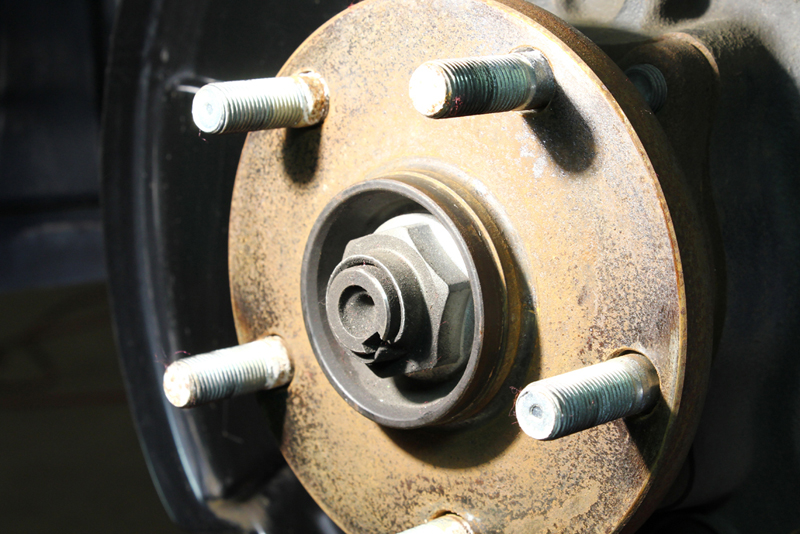
Step 9: Remove your old brakes and inspect the wheel hub assembly. My car was almost brand new. Remove any debris or excessive rust.
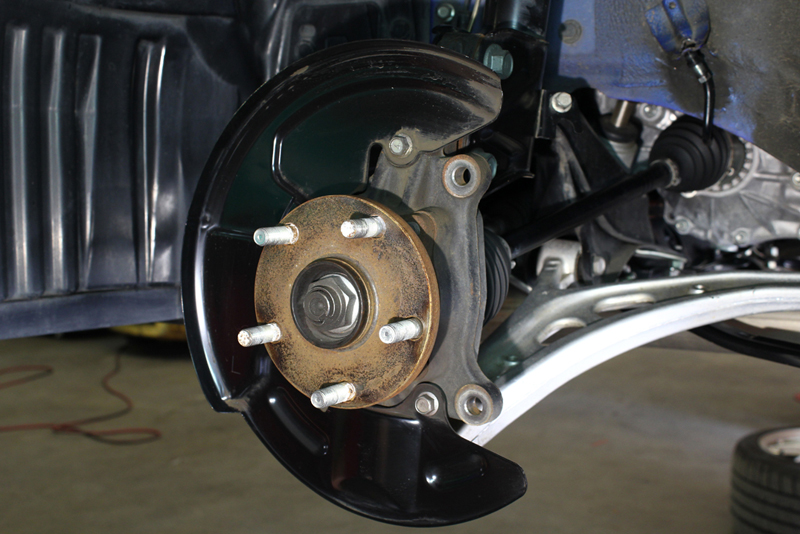
Step 10: A small amount of anti-seize on the hub centric may prevent the rotors from rust-welding themselves on.
Step 11: Inspect the knuckle caliper mounting holes for rust, especially the lower end one. Clean this out if necessary.

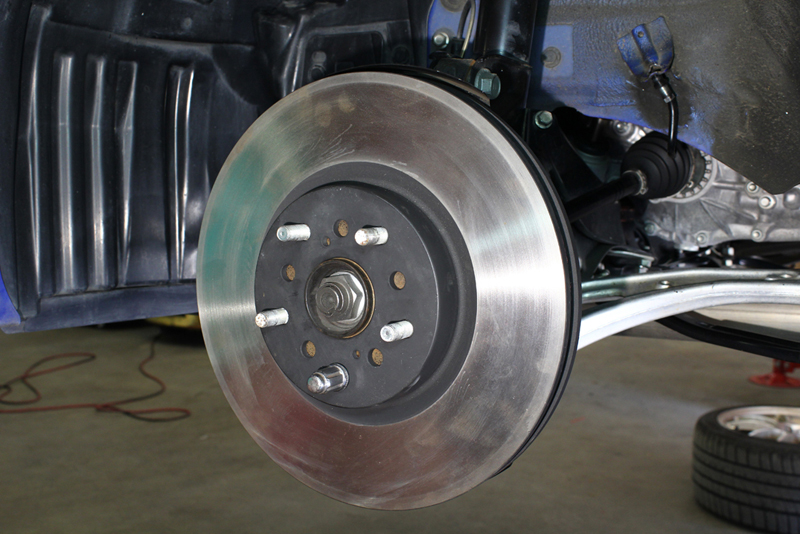
Step 12: Install the rotor and use a lug nut to hold it in place.
Step 13: Place the caliper over the rotor and make sure the bleeder is facing up.
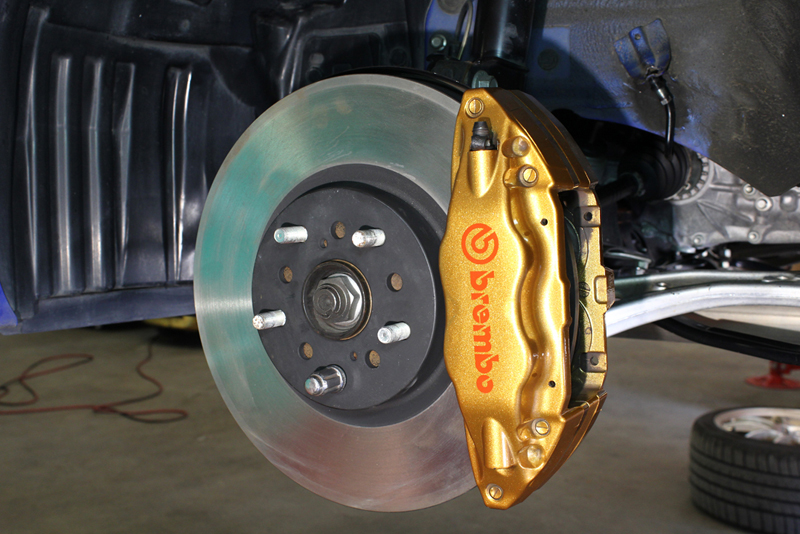
Step 14: Pro Tip - Use a deep 19mm socket for the upper caliper bolt to clear the camber adjustment bolts.
Step 15: Before installing the brake pads apply a small amount of high temperature brake grease to the side edges of the pad backing plate.
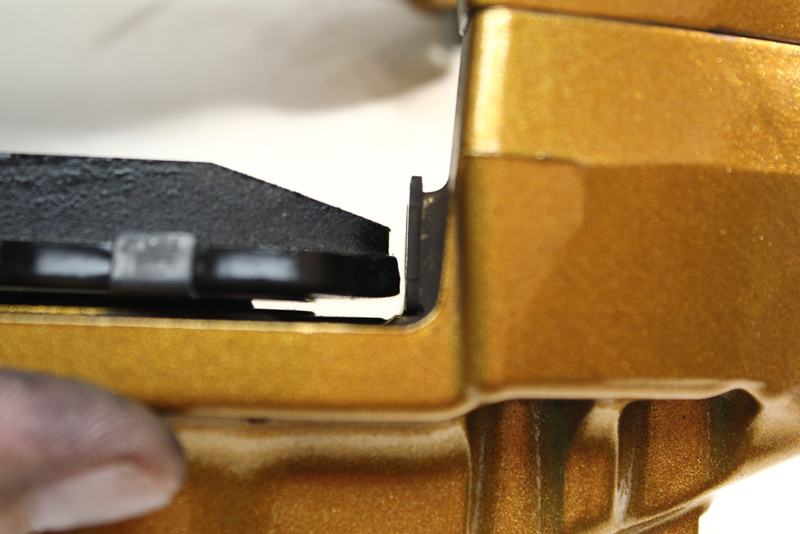
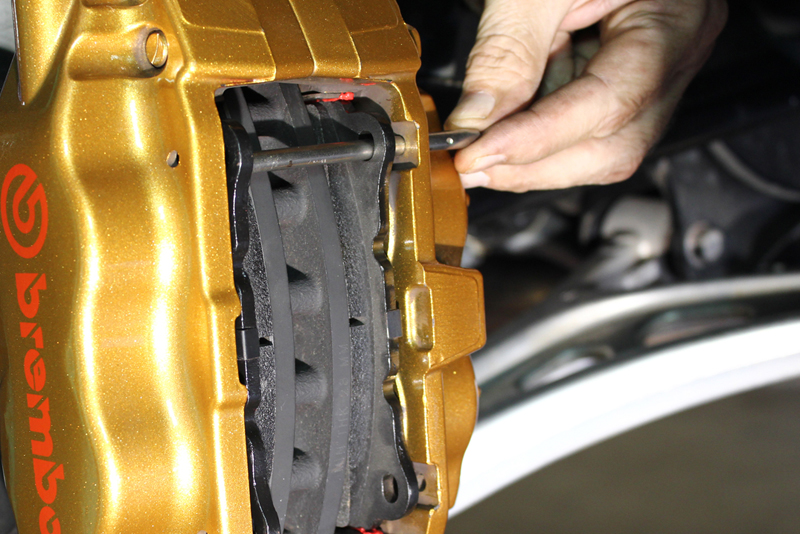
Step 16: Slide the pads into the caliper.

Step 17: Slide the top pin in sharp end first; make sure the hole on the other side is facing outward from the caliper. You might need to use a wrench/small hammer to tap the pin in.
Step 18: The caliper pins and hold down spring are much easier to deal with if they are clean.

Step 19: Secure the pins with the cotter pin.
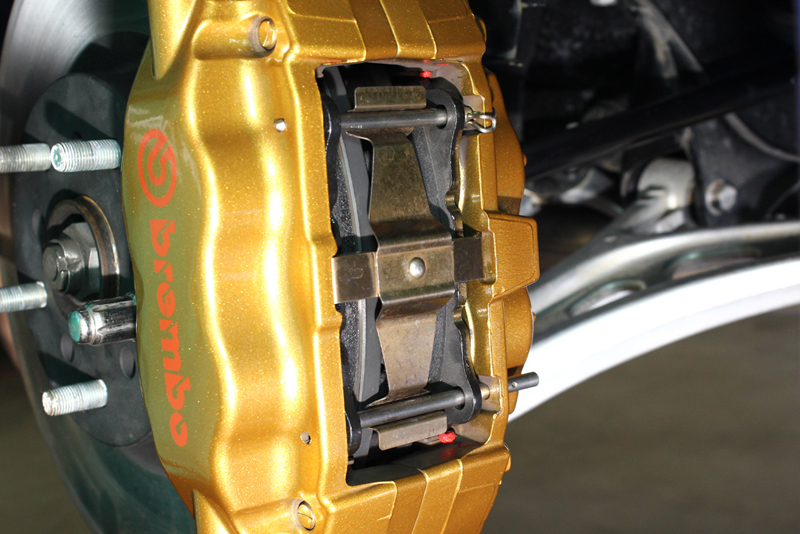
Step 20: Hardware installed.
Step 21: Place a new copper crush washer on each side of the brake line connection.
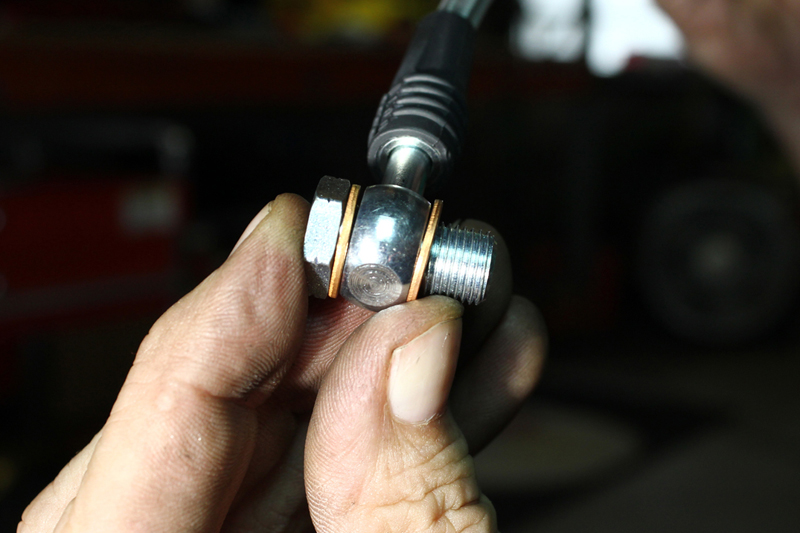
Step 22: Thread the banjo bolt in, but don't tighten it yet.
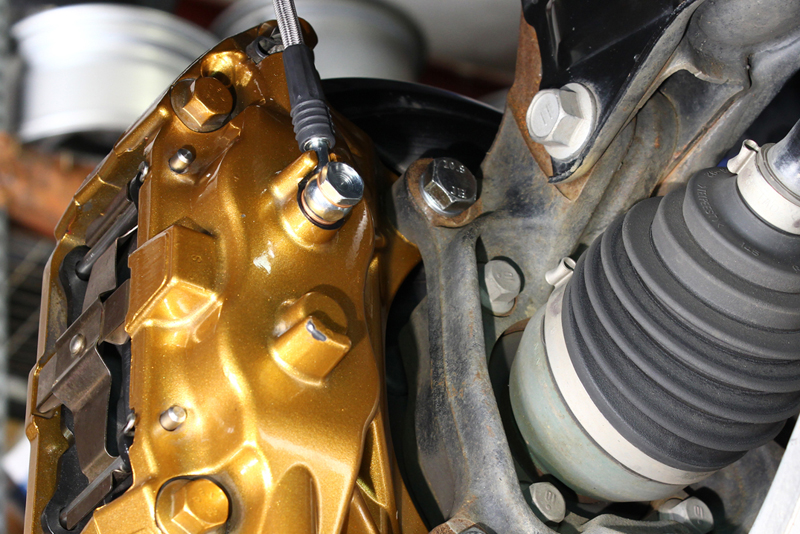
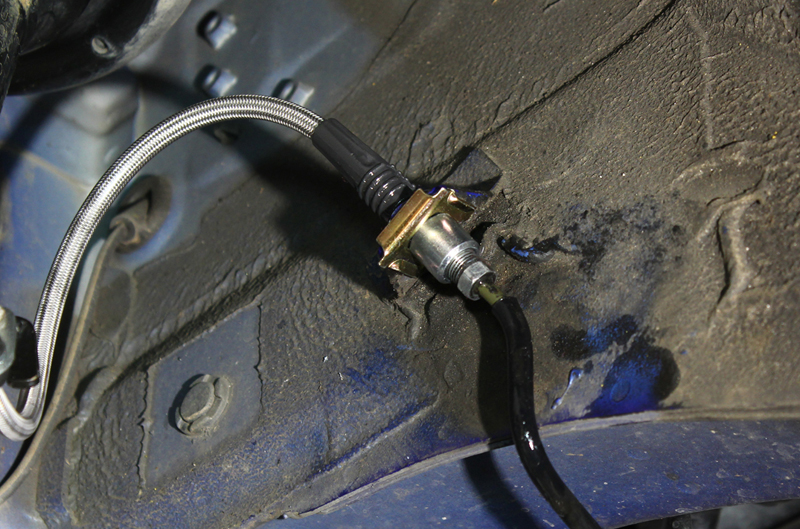
Step 23: Attach the brake line to the mounting points. Tighten the fittings after you route the lines so they don't rub anything.
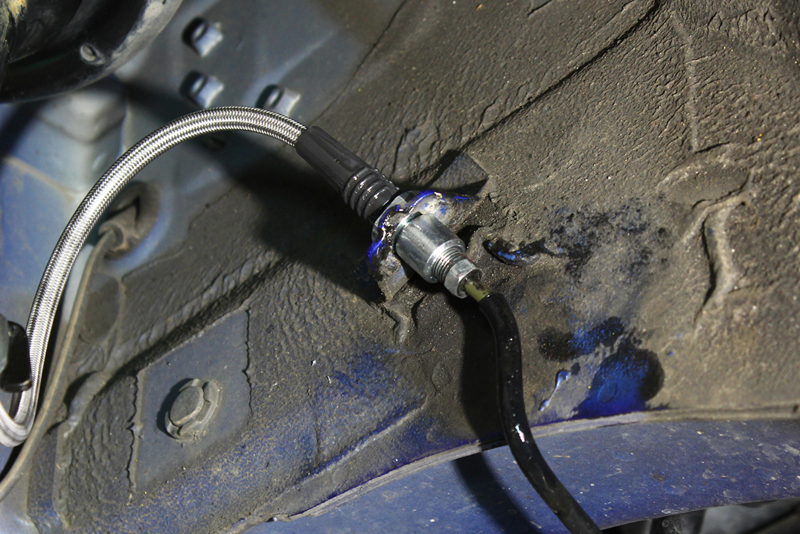
Pro Tip: A bleeder cap on the hard line minimizes dripping brake fluid and emptying the caliper.

Step 24: Connect the new brake line.
Step 25: Line clip. These don't always fit well and may require some finessing.
Step 26: Tighten the connection with a 12mm line wrench. The spec is only 10 to15 ft lbs.
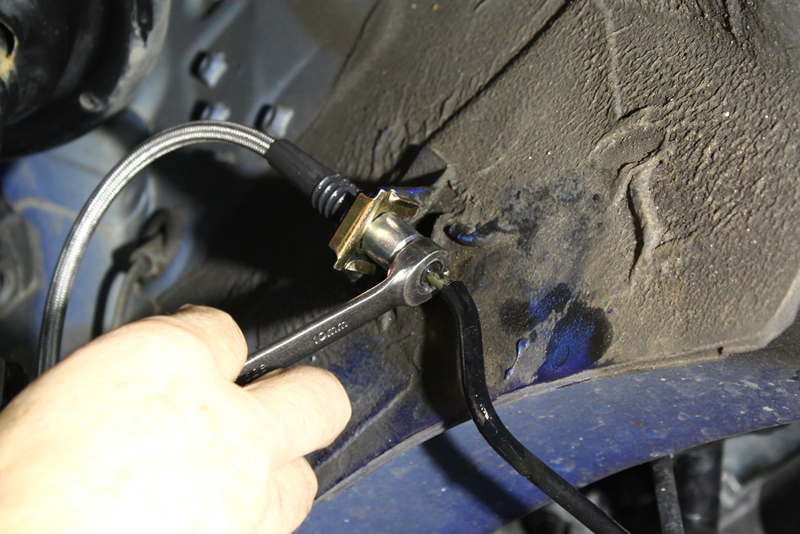
Step 27: Finished line connection shown above.

Step 28: Check the brake line for clearance. You can twist the lines at one of the ends to make the line stay in position.
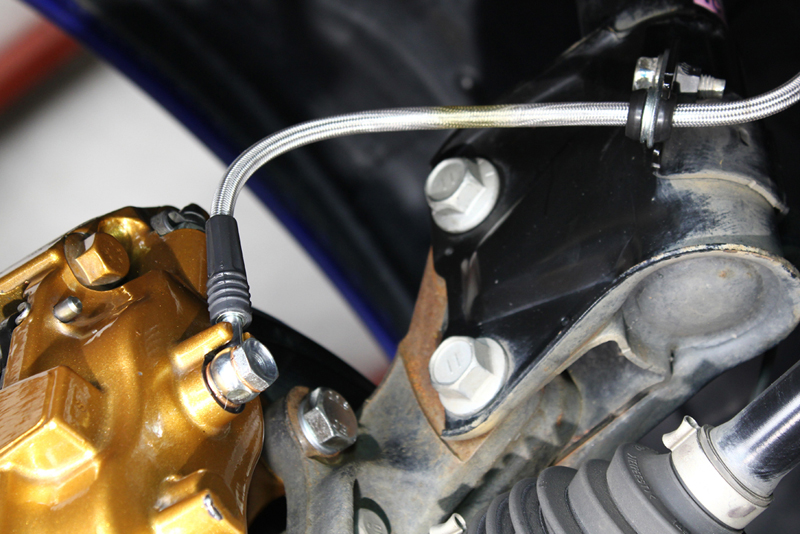
Step 29: Install the wheels and re-check again for any clearance issues.
Step Finished: Bleed the brakes, check for leaks and do a test-drive.
![]()