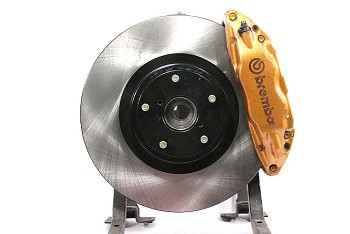
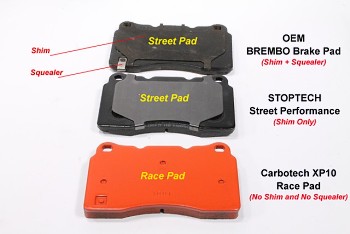
Brembo Caliper Brake Pad Replacement Instructions
Step 1:
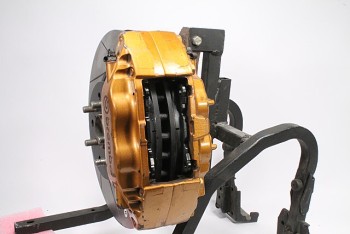
-Raise the car and safely support the vehicle on jack stands. Remove the wheels.
-You will need regular pliers, needle nose pliers, a small punch and something to pry the caliper pistons back with.
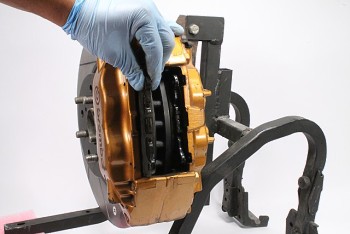
Step 2:
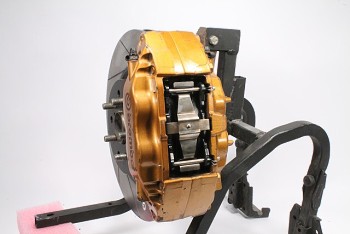
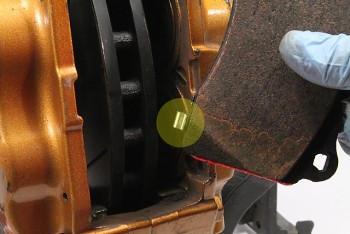
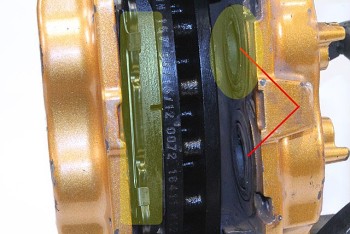
The pads are retained by pins which are held in with cotter pins. The aptly named cross spring presses down on the pad to reduce rattle and noise.

Step 3:
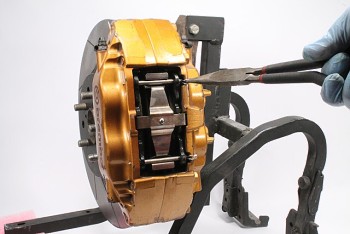
Use your needle nose pliers to remove the cotter pins from the pad pins.
Step 4:
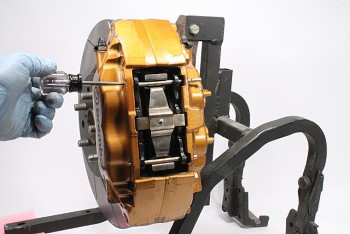
Use your punch to push the pins in to gain room on the back side. Then hold down the tab on the end of the cross spring and remove the pin from the caliper.
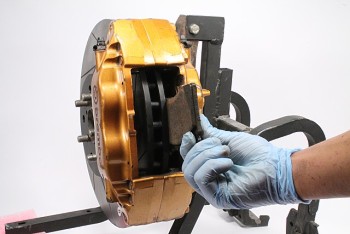
Step 5:
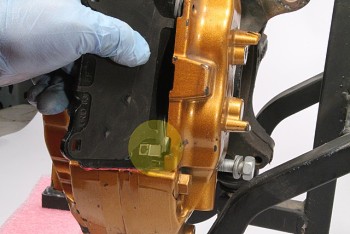
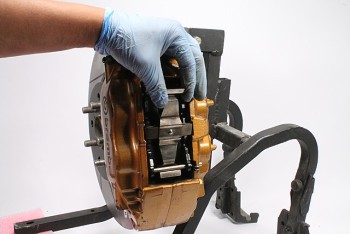
Wiggle one of the pads enough to gain clearance so it can slide out over the rotor lip. Only remove one pad at this time.
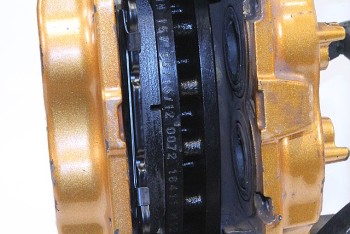
Step 6:
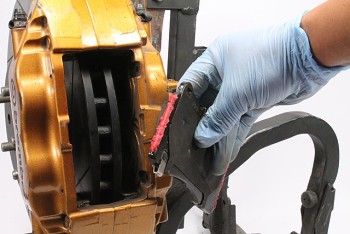
Now you need to use a pry tool to push the pistons back in on the side where you removed the pad. There are many tools available but you can use your brake pad if need be. Just be careful not to damage the piston boot or piston and be aware that if you don't open the bleeder you need to push them back at the same time or one will come out as one goes in. If you do open the bleeder the pistons will go back in much easier but then you will have to bleed the brakes afterwords. After you have the pistons fully retracted you can then install a new pad.
Step 7:
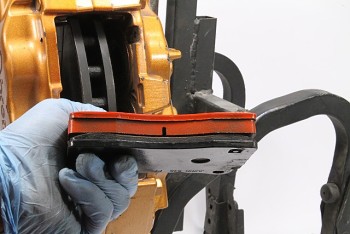
Note If 2 of the pads have wear indicators install them on the inside.
We only recommend brake grease as illustrated on the ends of the pad backing plates where it contacts the caliper abutment plates.
Step 8:
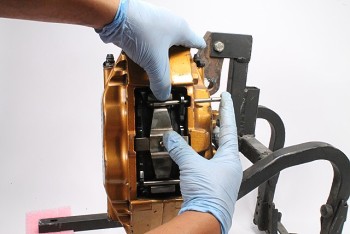
After one pad is installed remove the other used pad and push the pistons in and install the other new pad in the same manner.
Step 9:
Insert one pin through the pads and caliper and tap it lightly to insure it is fully inserted. Then insert one end of the cross spring under the installed pin and lever it down into position on top of the pads. As you do this you will notice the spring pushes the pads down as intended but this will make installing the second pin more difficult. You will need to push down the end of the cross spring but position the pad(s) so that the pin will go through both the caliper and pad.
Step 10:
Hint If you clean the pad pins of all brake dust they will go in much easier.

Step 11:
Insure the cross spring and pad pins are fully seated and that the cotter pin holes in the pad pins are exposed. Install the cotter pins into the pad pins.
Double check your work. It's brakes and they need to work right every time.