
V1.1 Caliper Bracket Installation Page
This is an installation guide for our v1.1 caliper bracket.
This bracket is used to install Subaru 2 piston WRX rear calipers or Subaru WRX STI Brembo rear 2 piston calipers.
These brackets will work on the following vehicles.
- 2002-2005 Subaru Impreza WRX
- 1998-2007 Subaru Impreza
- 2004-2008 Subaru Forester (all models)
- 2005-2009 Subaru Legacy GT
- Other Subaru models with similar rear backing plates
*Please note that Subaru Legacy GT owners may need to perform extra clearancing to fit the brackets.
Please be sure to follow all safety precautions when installing brakes. Consult a professionsal mechanic.
Step 1:
Safely lift the car and remove rear wheels.
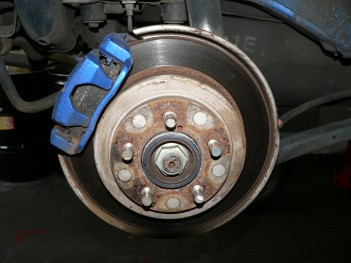
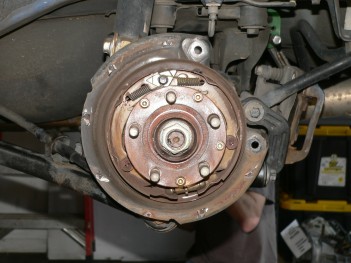
Step 2:
Remove the caliper, caliper bracket, brake pads, and rotors. Leave the brakeline attached to the old caliper until you are ready to install the new lines and/or caliper. This will make bleeding easier.
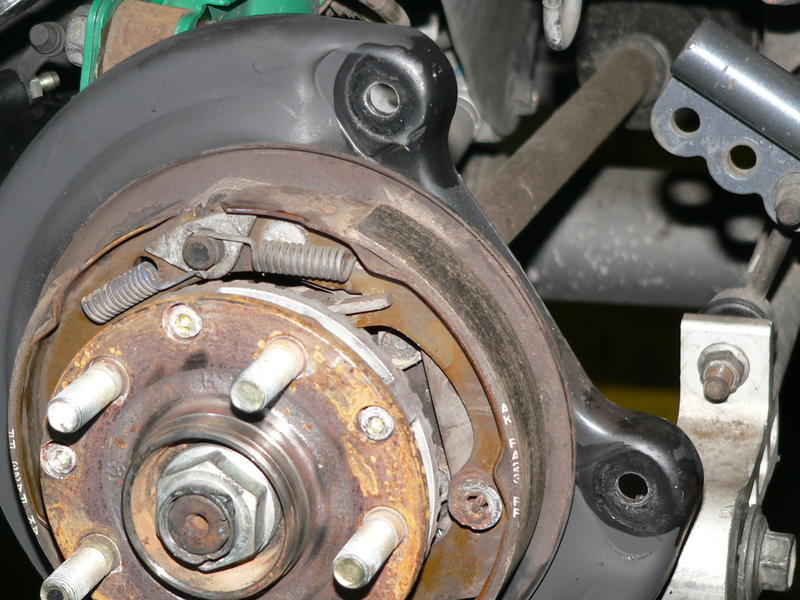
Step 3:
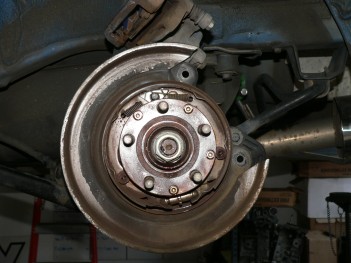
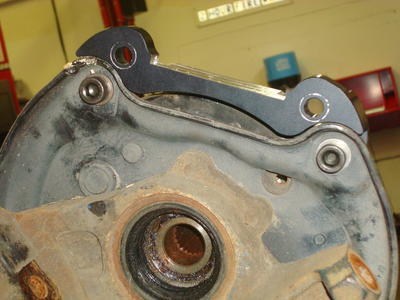
In most cases you will need to clearance on the outer part of the dust shield for the larger rear rotor. We removed it by using a hammer and chisel to break the spot welds all the way around the shroud.
Outer portion of dust shield removed.
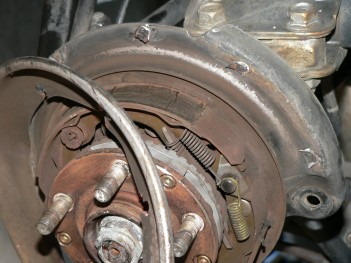
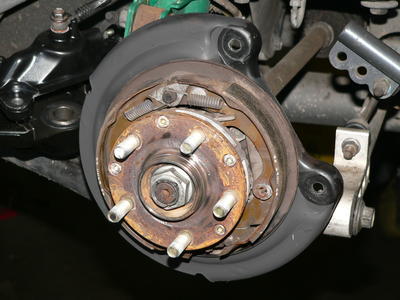
Step 4:
Now is a good time to grind down the spot welds and paint your backing plate to reduce corrosion.
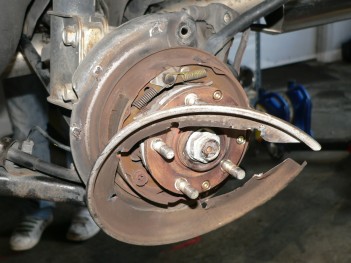
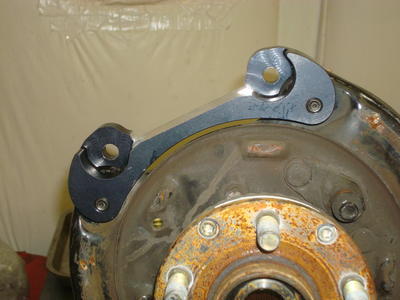
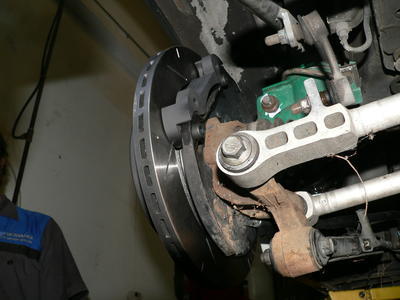
Step 5:
Install the bracket to the backing plate with the included shorter hardware. The bolts go through the backing plate and into the bracket. Be certain that the bracket is flush against the backing plate and correctly mounted.
Torque Specifications
- Bolt going into the caliper bracket 35 Ft-lb
- Bolt going into Brembo caliper 35 Ft-lb
- Bolt going into FHI caliper 40 Ft-lb
Step 6:
Test fit the caliper to the bracket w/ the long hardware. Note - we recomend chasing the threads in your calipers. If there is corrosion present the steel bolt may seize in the aluminum caliper threads. After you have confirmed fitment remove the caliper and install the rotor.
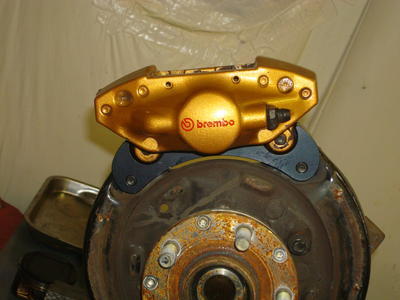
Make sure the rotor spins freely and there is no interference between the bracket hardware and the rotor. It is a close fit so do not omit this step.
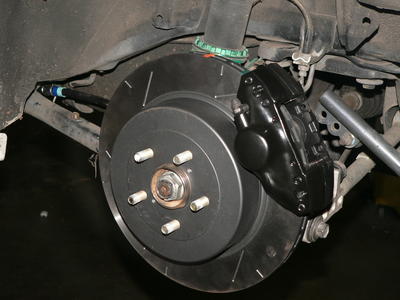
Step 7:
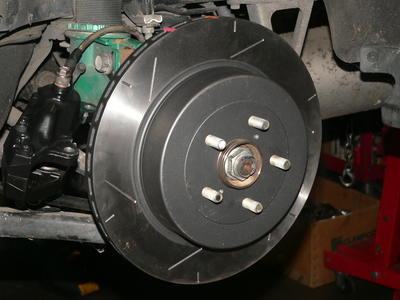
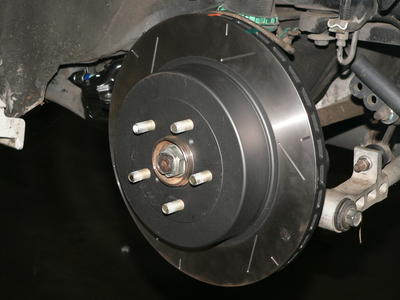
Re-install the caliper using the longer hardware again making sure there is no interference and the rotor spins freely.
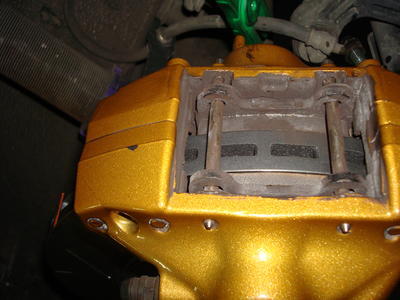
Step 8:
Install the brake pads into the calipers. The pads should line up correctly with the rotor and the rotor should line up correctly with the caliper. If this is not the case review your installation untill you find out what is incorrect.
Step 9:
Finish the installation by attaching your brake lines and double check all of your work. Insure that your brakes function properly BEFORE attempting to drive the vehicle.